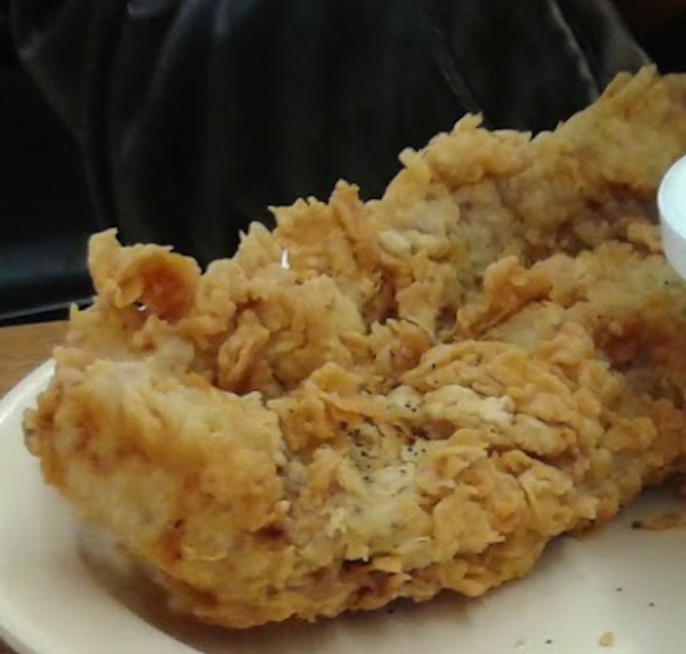
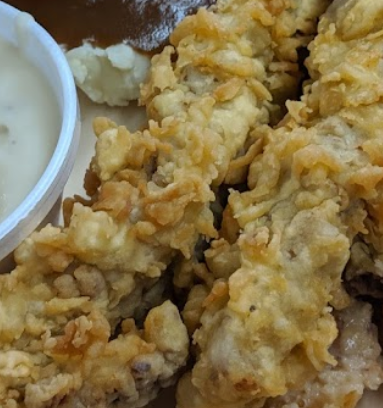
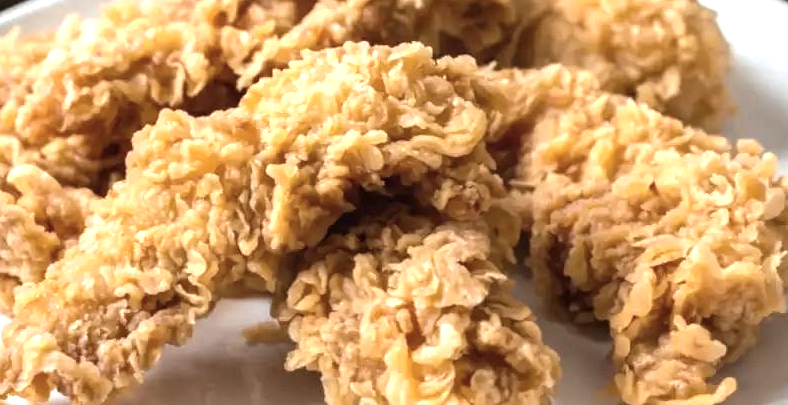
I would consider these specific points.
- The Oil
1A) Use an oil with a high vapor point. Canola (Corn) oil, or vegetable oil are widely used.
1B) Make sure your oil has reached the necessary temperature to being frying instantly. 325 F (degrees Fahrenheit) seems like a commonly suggested temperature. The goal is to keep the oil at a consistent temperature. When you add food into a deep fryer, the food is pulling heat out of the oil as it cooks. If over filled or consecutive batches are fried without monitoring the oil temp, you are likely to have your oil cool on you as you go.
1C) Keep your oil clean. Change it if it’s old, and remove any thing that might be floating around after a batch is done.
- The Chicken
2A) Start by making sure the chicken is fully thawed. I prefer to wash my meat at the start of the cooking process. Regardless of whether you wash the meat or not, it’s imperative that chicken is patted dry with a cloth or paper towel as it’s being prepared. Water will act as a barrier between the meat and the oil. Water can only ever get to a maximum temperature of 220 F cooking most places. This is far below the oil temp, and it will cook the meat at that temperature until the water on the chicken, violently evaporates through the oil. I will either keep a dry paper towel under and over meat, or marinate the dried meat with a light coat of oil, to help prevent any condensation of the meat.
2B) I like to season both the raw chicken and add more seasoning into the batter. So if you like a spicy fry, throw some spice on there. I suggest adding a small amount of salt at this stage.
- The Batter
3A) To prepare the batter you will need 3 wide bowls.
- Bowl 1: 2 cups of all purpose white flour.
- Bowl 2: 6 large eggs, scrambled together.
- Bowl 3: 3 cups of all purpose flour, 4 teaspoons of baking soda, and three eggs. Combine these ingredients to make a basic “pancake” batter. It should be runny enough to pour from one bowl to another.
3B) I would suggest using the three step battering method. Take the raw chicken and add into Bowl 1. Lightly coat the chicken in flour.
Next, shake any excess flour off, and then dip the chicken into Bowl 2.
Step 3 is to then let any excess egg run off and then dip the chicken in a liquid batter of Bowl 3. Give it a good pass through the deep batter, but allow any excess to fall off. Then straight into the oil.
- Frying
4A) don’t over crowd the oil with too much meat.
4B) monitor you oil temperature before during and after each batch.
4C) add salt immediately after taking the meat out of the oil. As soon as you can will yield the best results.
4D) put the freshly fried chicken onto a wire rack or paper towel to help separate any residual oil.
4E) Consider buying a pressure cooker. It will help prevent the issues discussed above regarding how water affects the frying process.
4F) In my experience, don’t be too bummed or doubtful if the first frying comes out burnt, soggy or too oily. This seems to be a common occurrence in frying. See if the next batch comes out the same before making any adjustment to oil temperature (lower temp if burned, raise temp if soggy or excessively oily).
Uses these as a basic guideline and test small tweaks. Try a higher and lower oil temperature (perhaps in +/- 5 F increments). Try different amounts of flour in the Bowl 3 recipe. You want the mixture to be a bit more runny than thick. Thick batter will result in bready and round chicken rather than crispy, flaky chicken.
I’m not a frying expert. Frying without the proper handle on the process can be very dangerous. Be carful of oil spitting which can burn your skin as well as create a grease fire. Remember, do not use water to put out a grease fire. Use baking soda, and the flame will go out immediately. Don’t be light with the baking soda. Better safe then sorry.


