If you have the right kind1 of peaches (freestone, ripe), cutting around the stone along the side seam and further on will be enough to let you separate the two halves and lift out the stone. In all other cases, this is where the fun begins.
When working with peaches and nectarines, I always start with that initial once-around cut and try turning the halves.
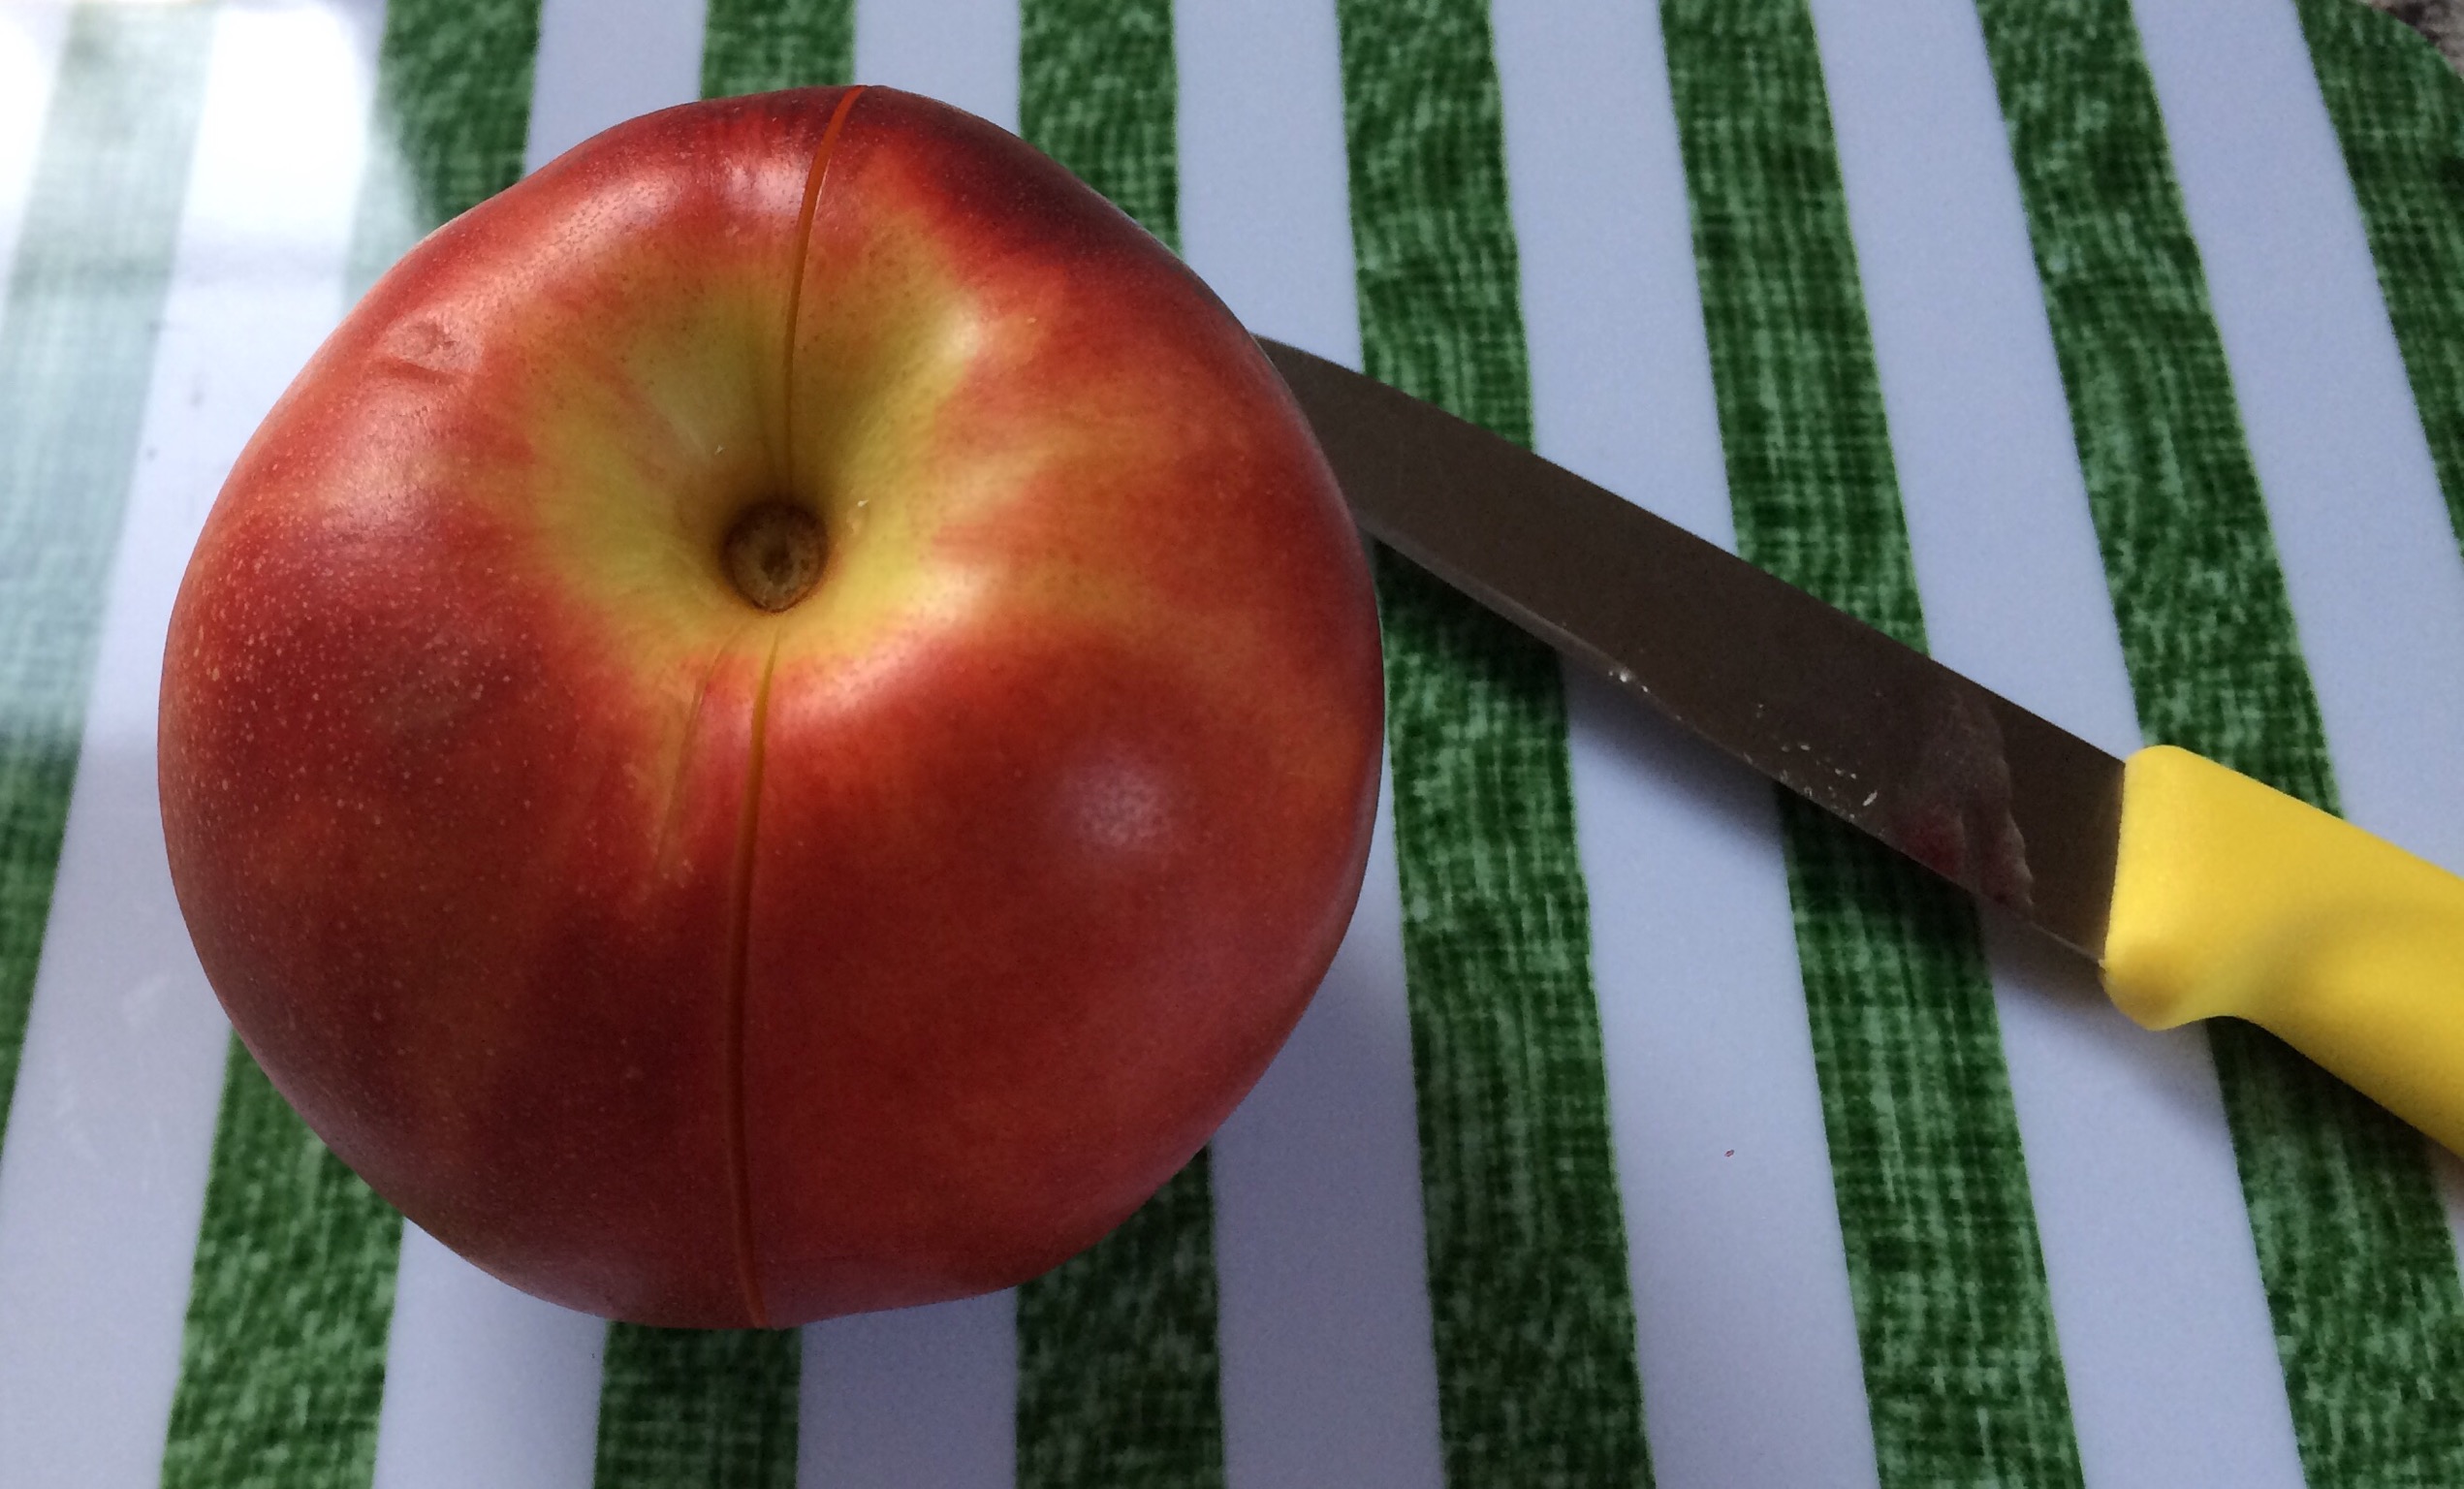
If that fails, I cut a “wedge” parallel to the first cut and lift out that first slice.
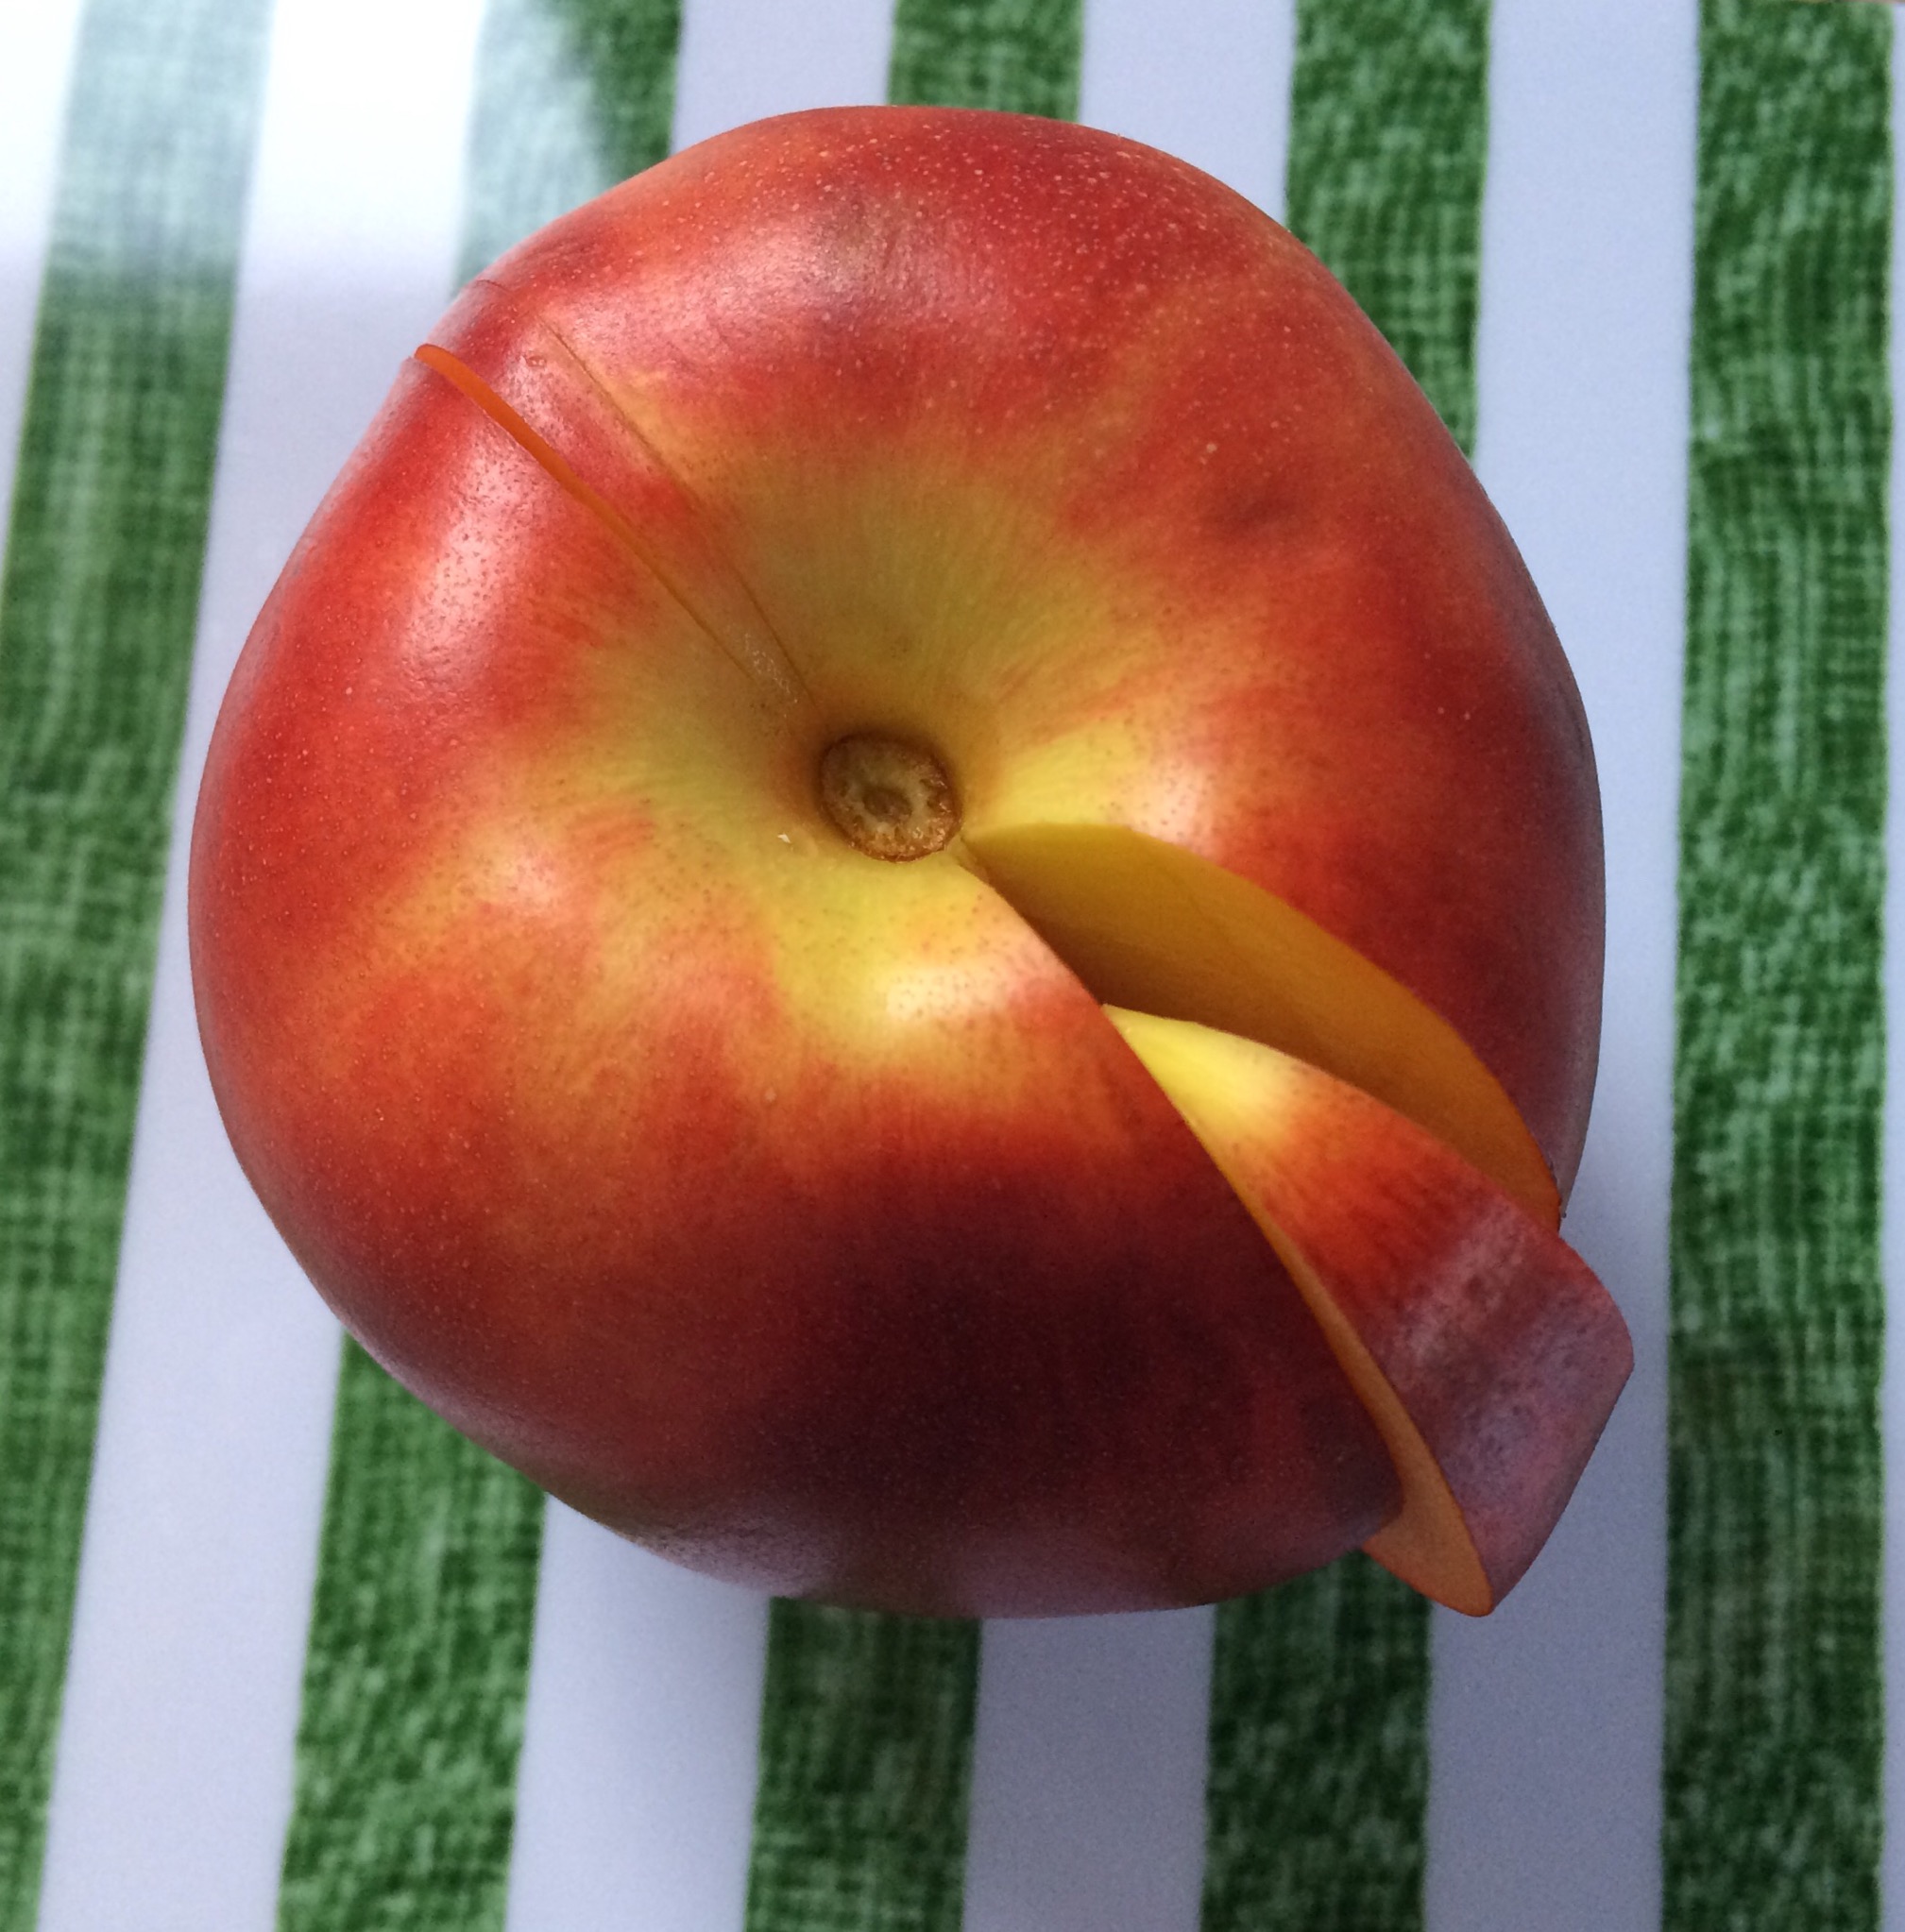
Repeat. Just imagine cutting like meridians on a globe and you get the idea.
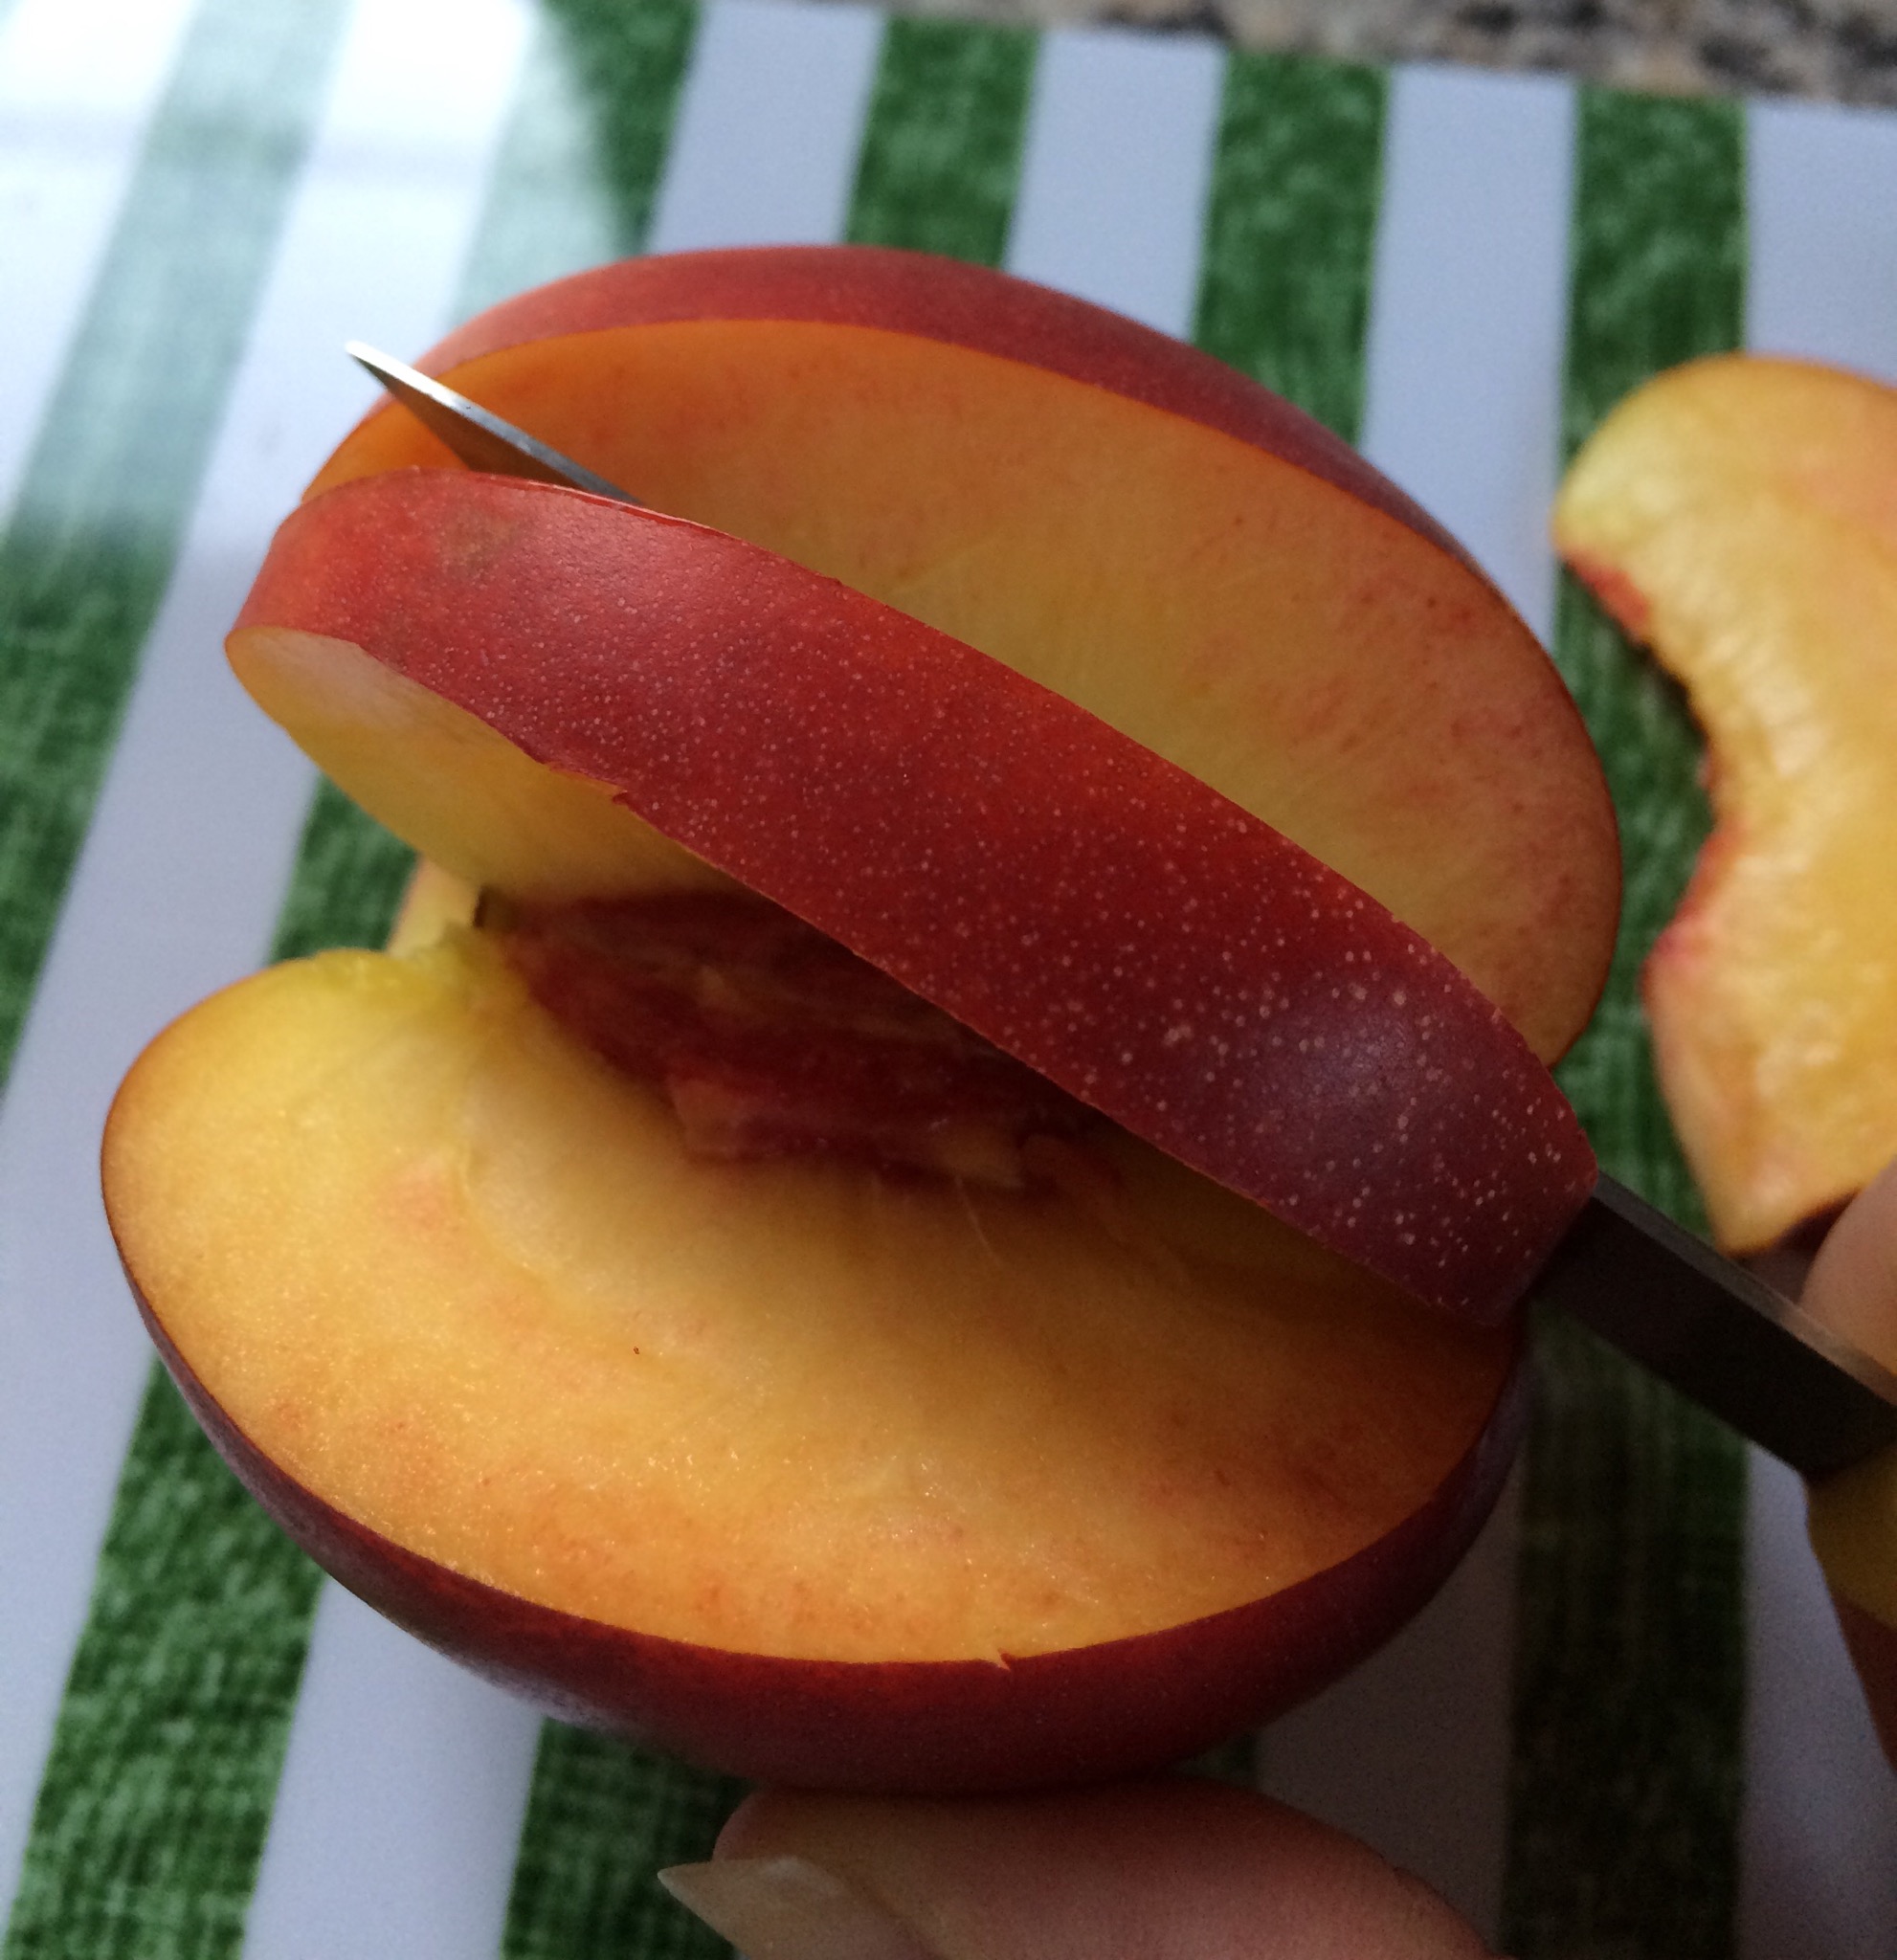
As the slices are connected at only a slim strip to the stone, they will either come off with just some pressure from the knife or can be cut off with the tip of your paring knife.
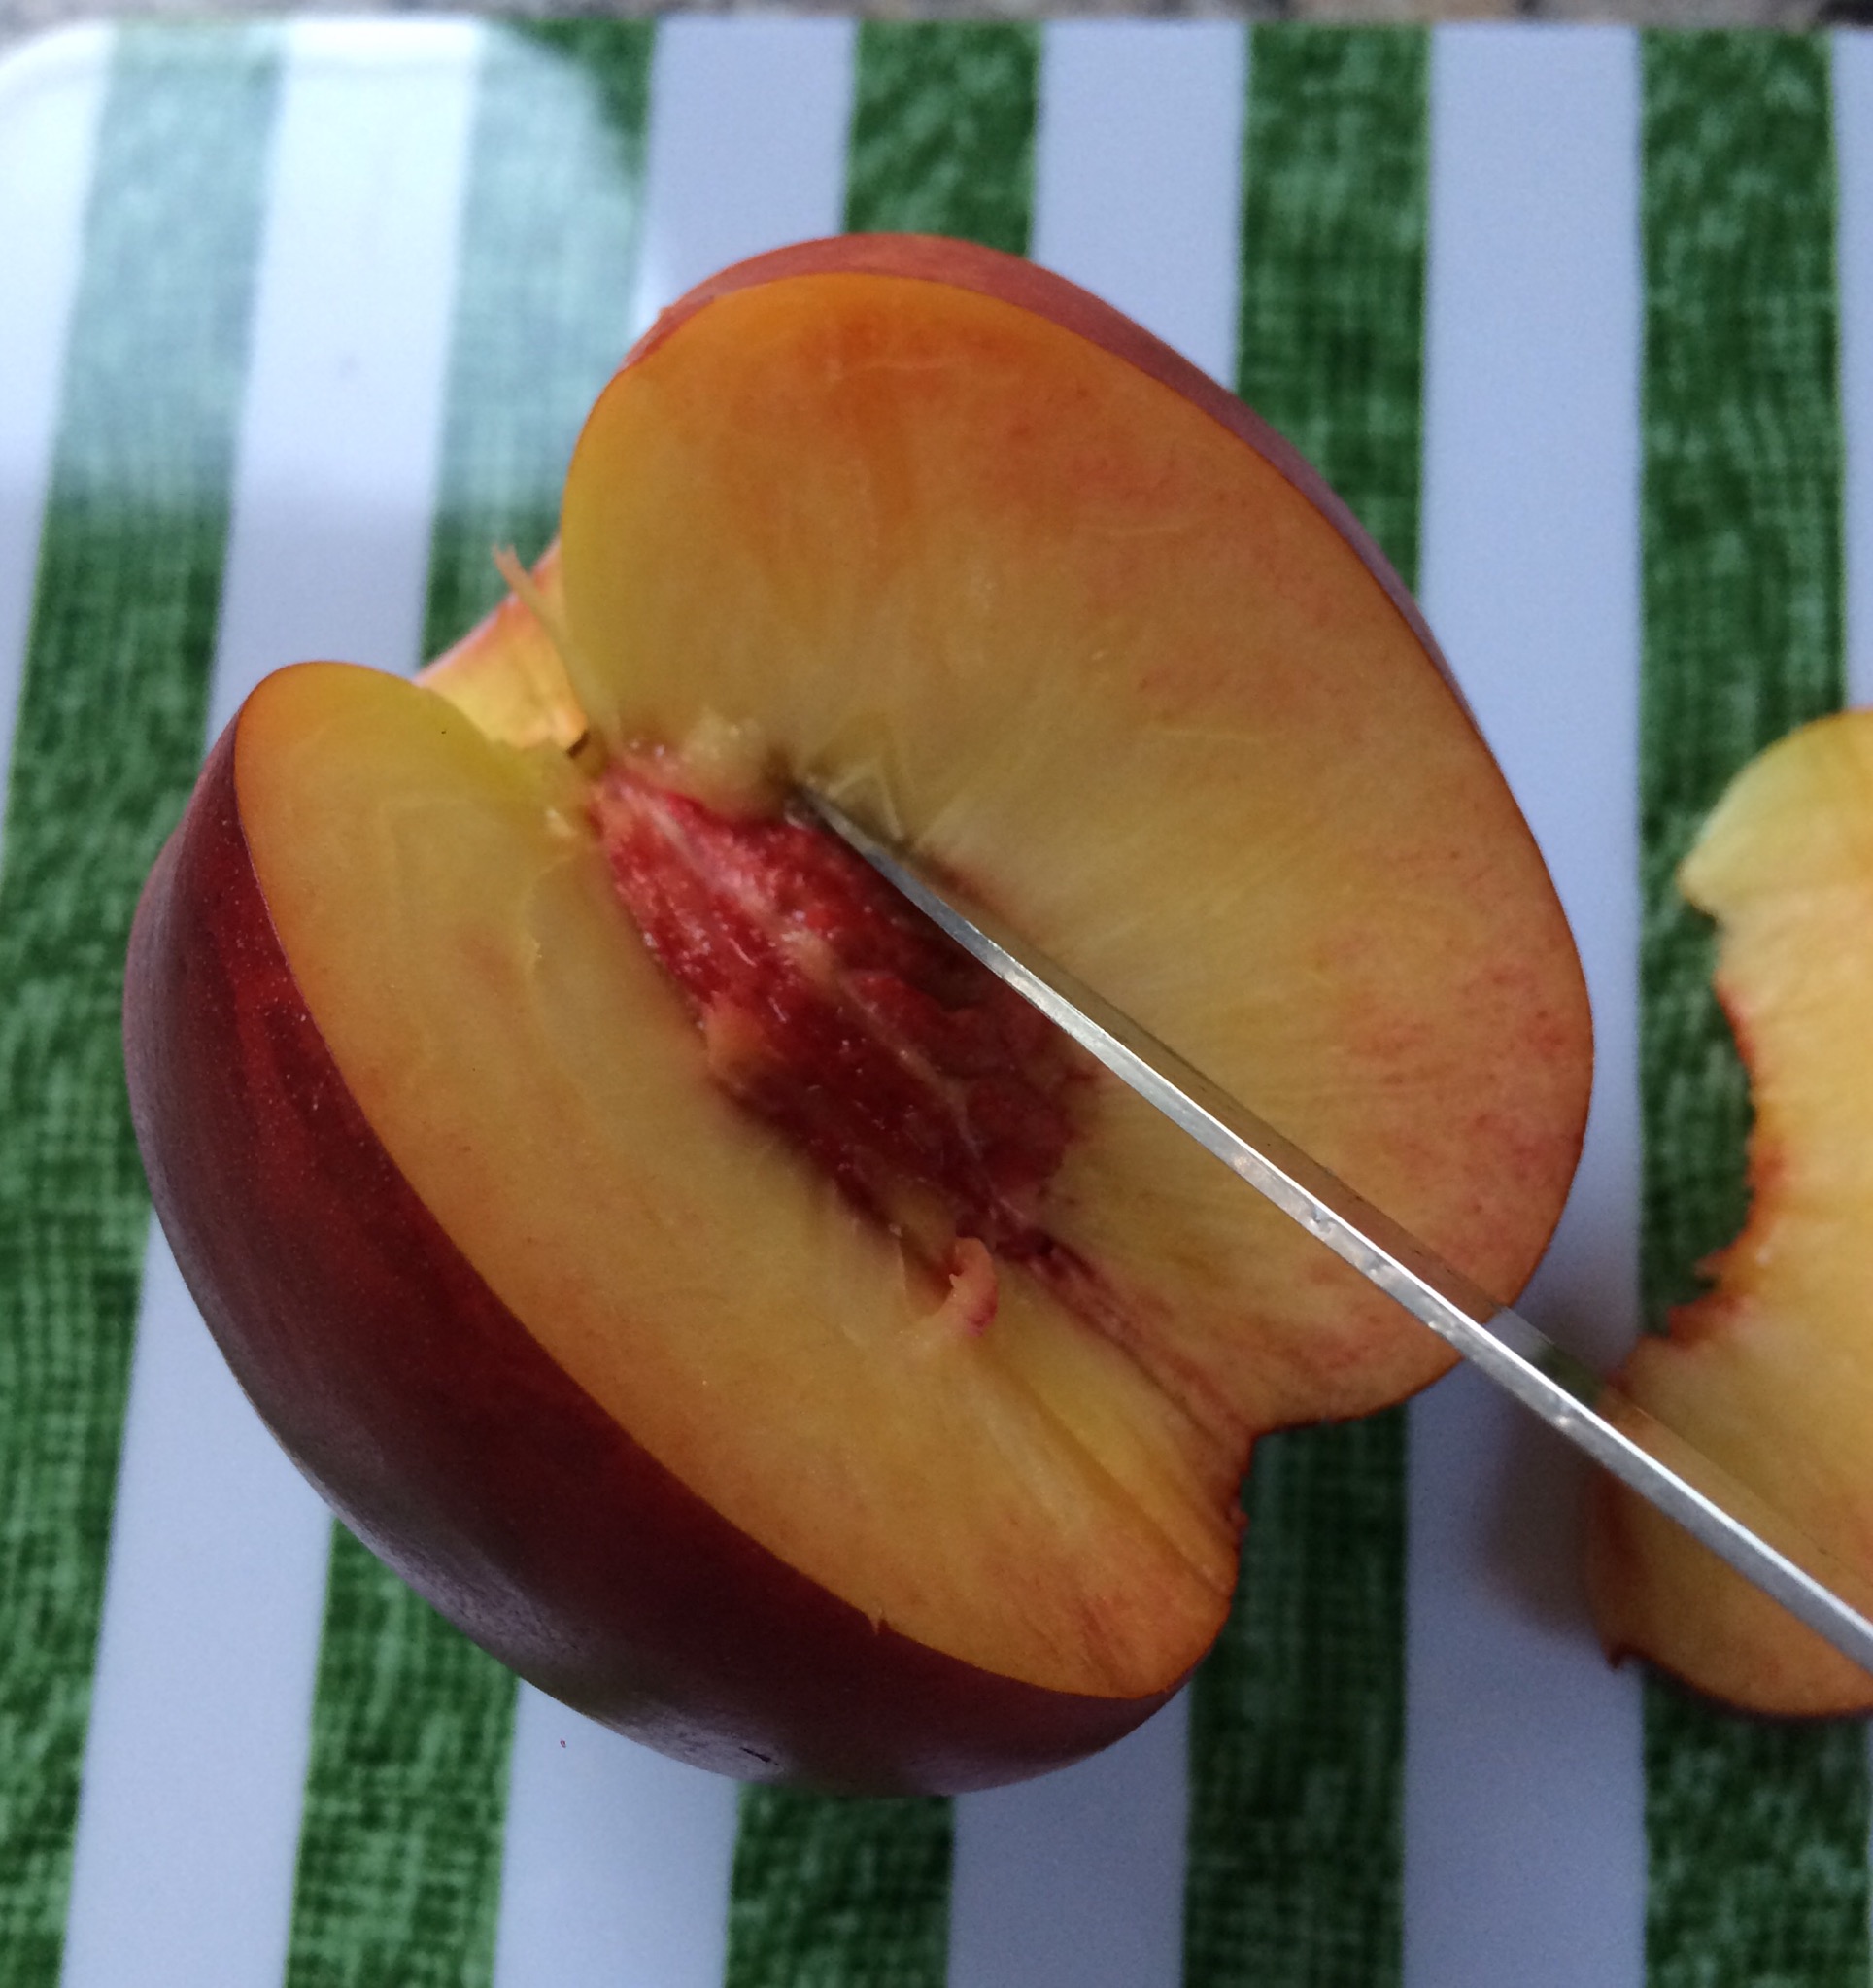
The first one is usually the most difficult one, here I often cut with a slight “slant” to minimize the area on the stone.
This method minimizes the amount of flesh stuck to the stone and gives you neat slices that look good if served like that or can be easily cut into uniform pieces.
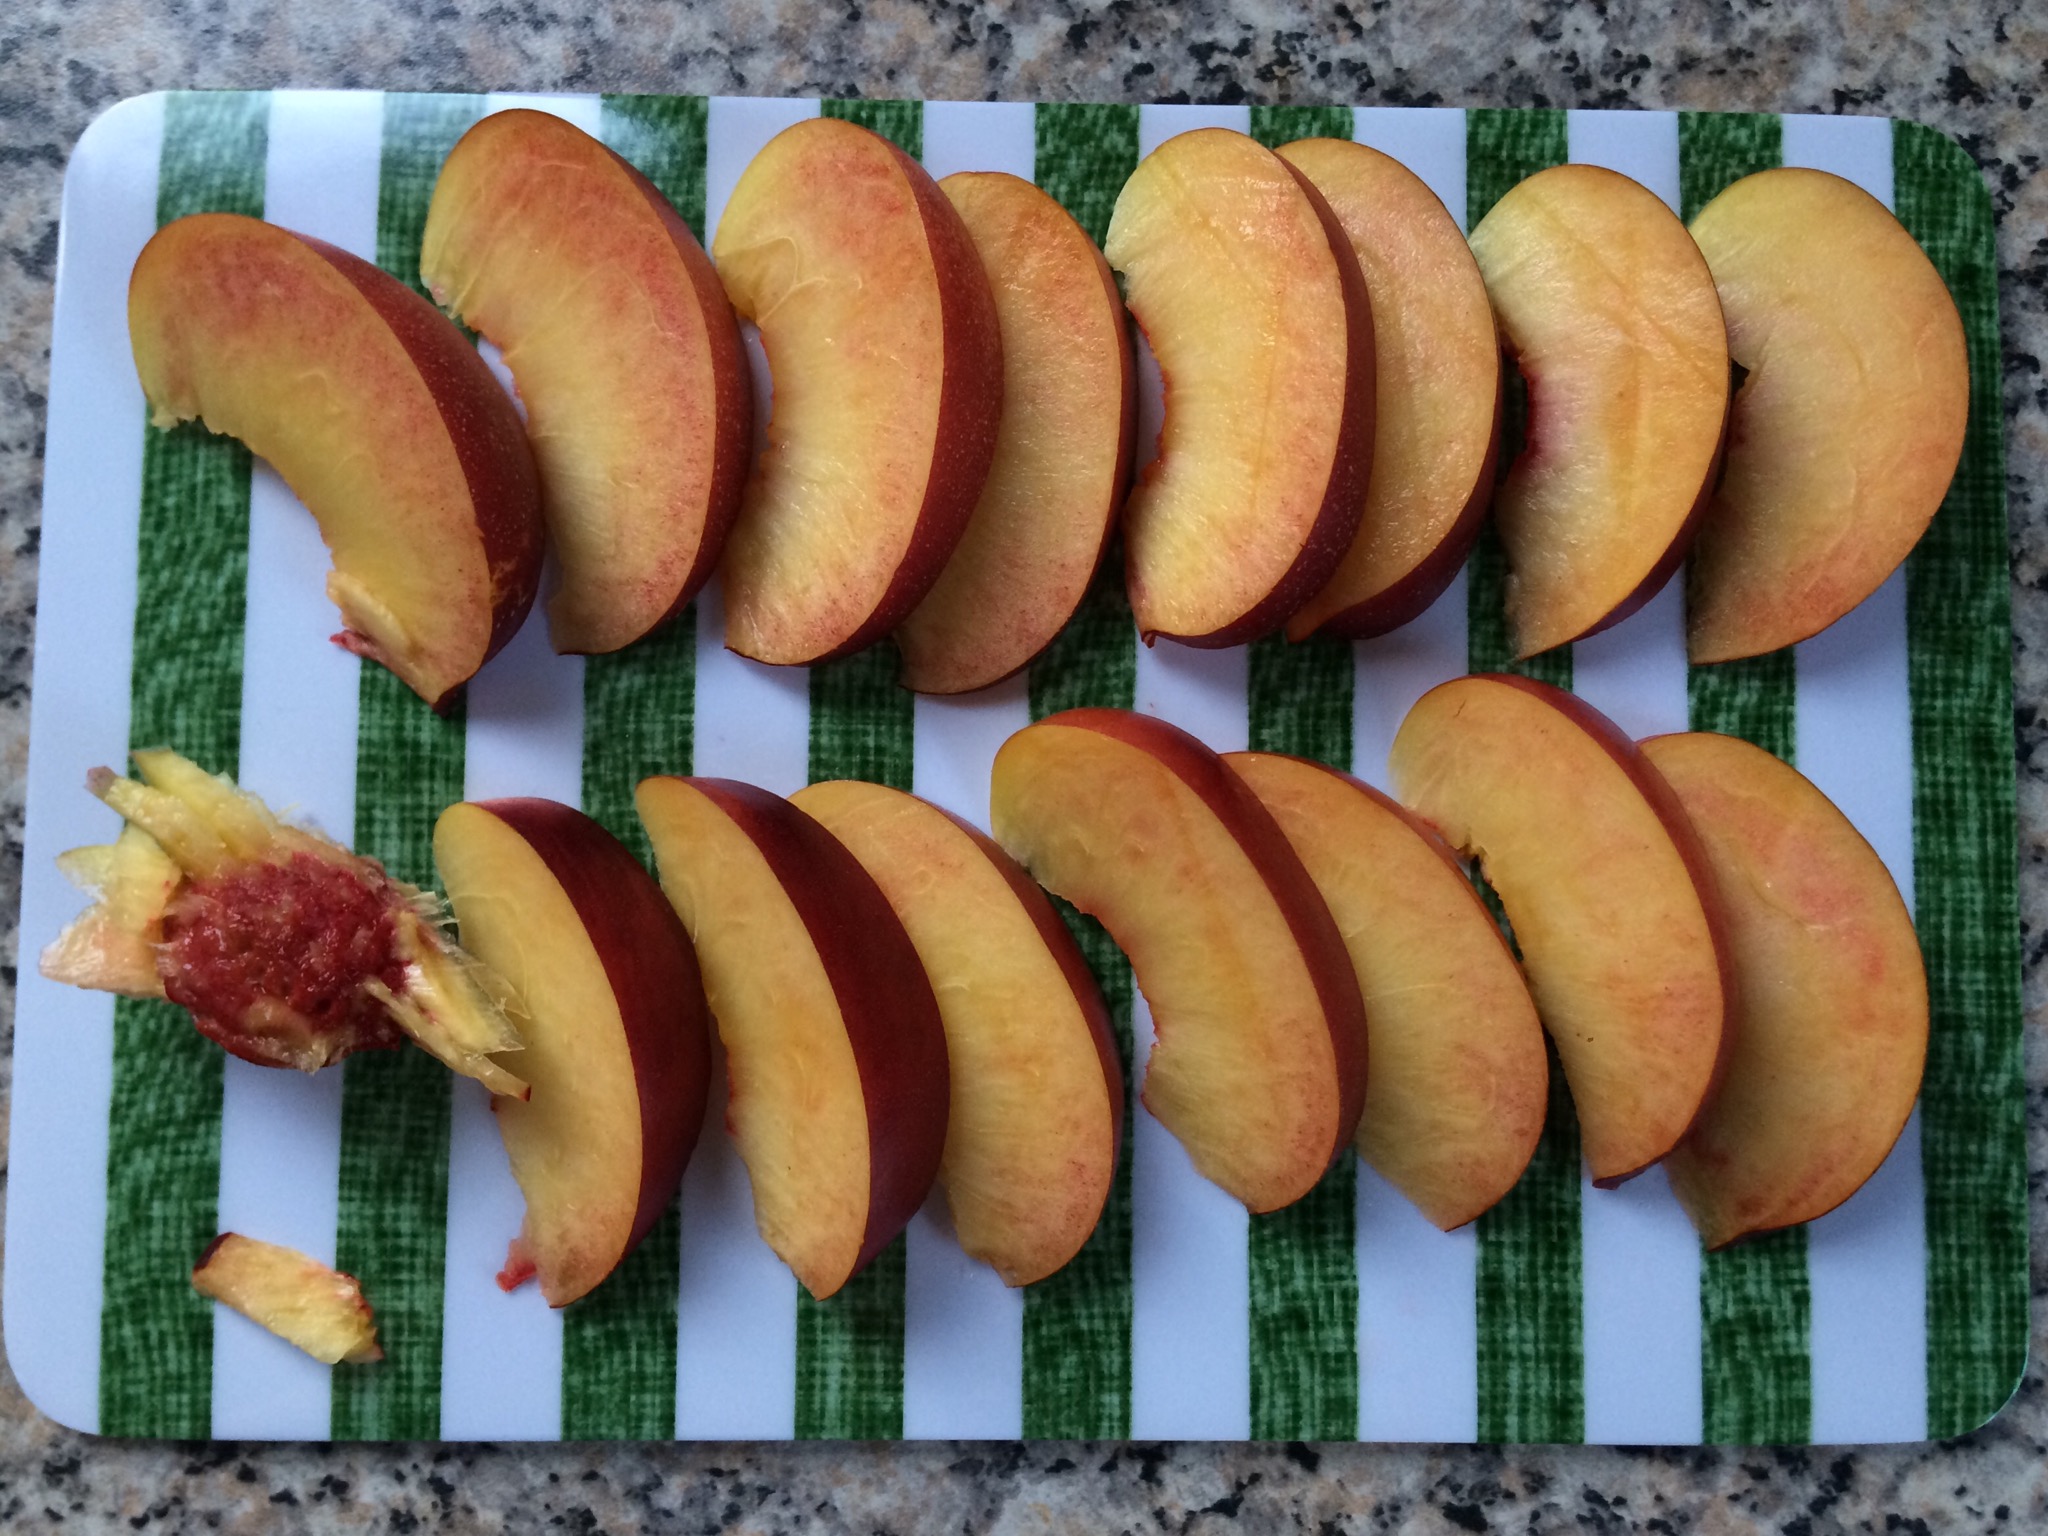
The harder or clingier the fruit, the narrower should your slices be to still get them off the stone easily and without breakage.
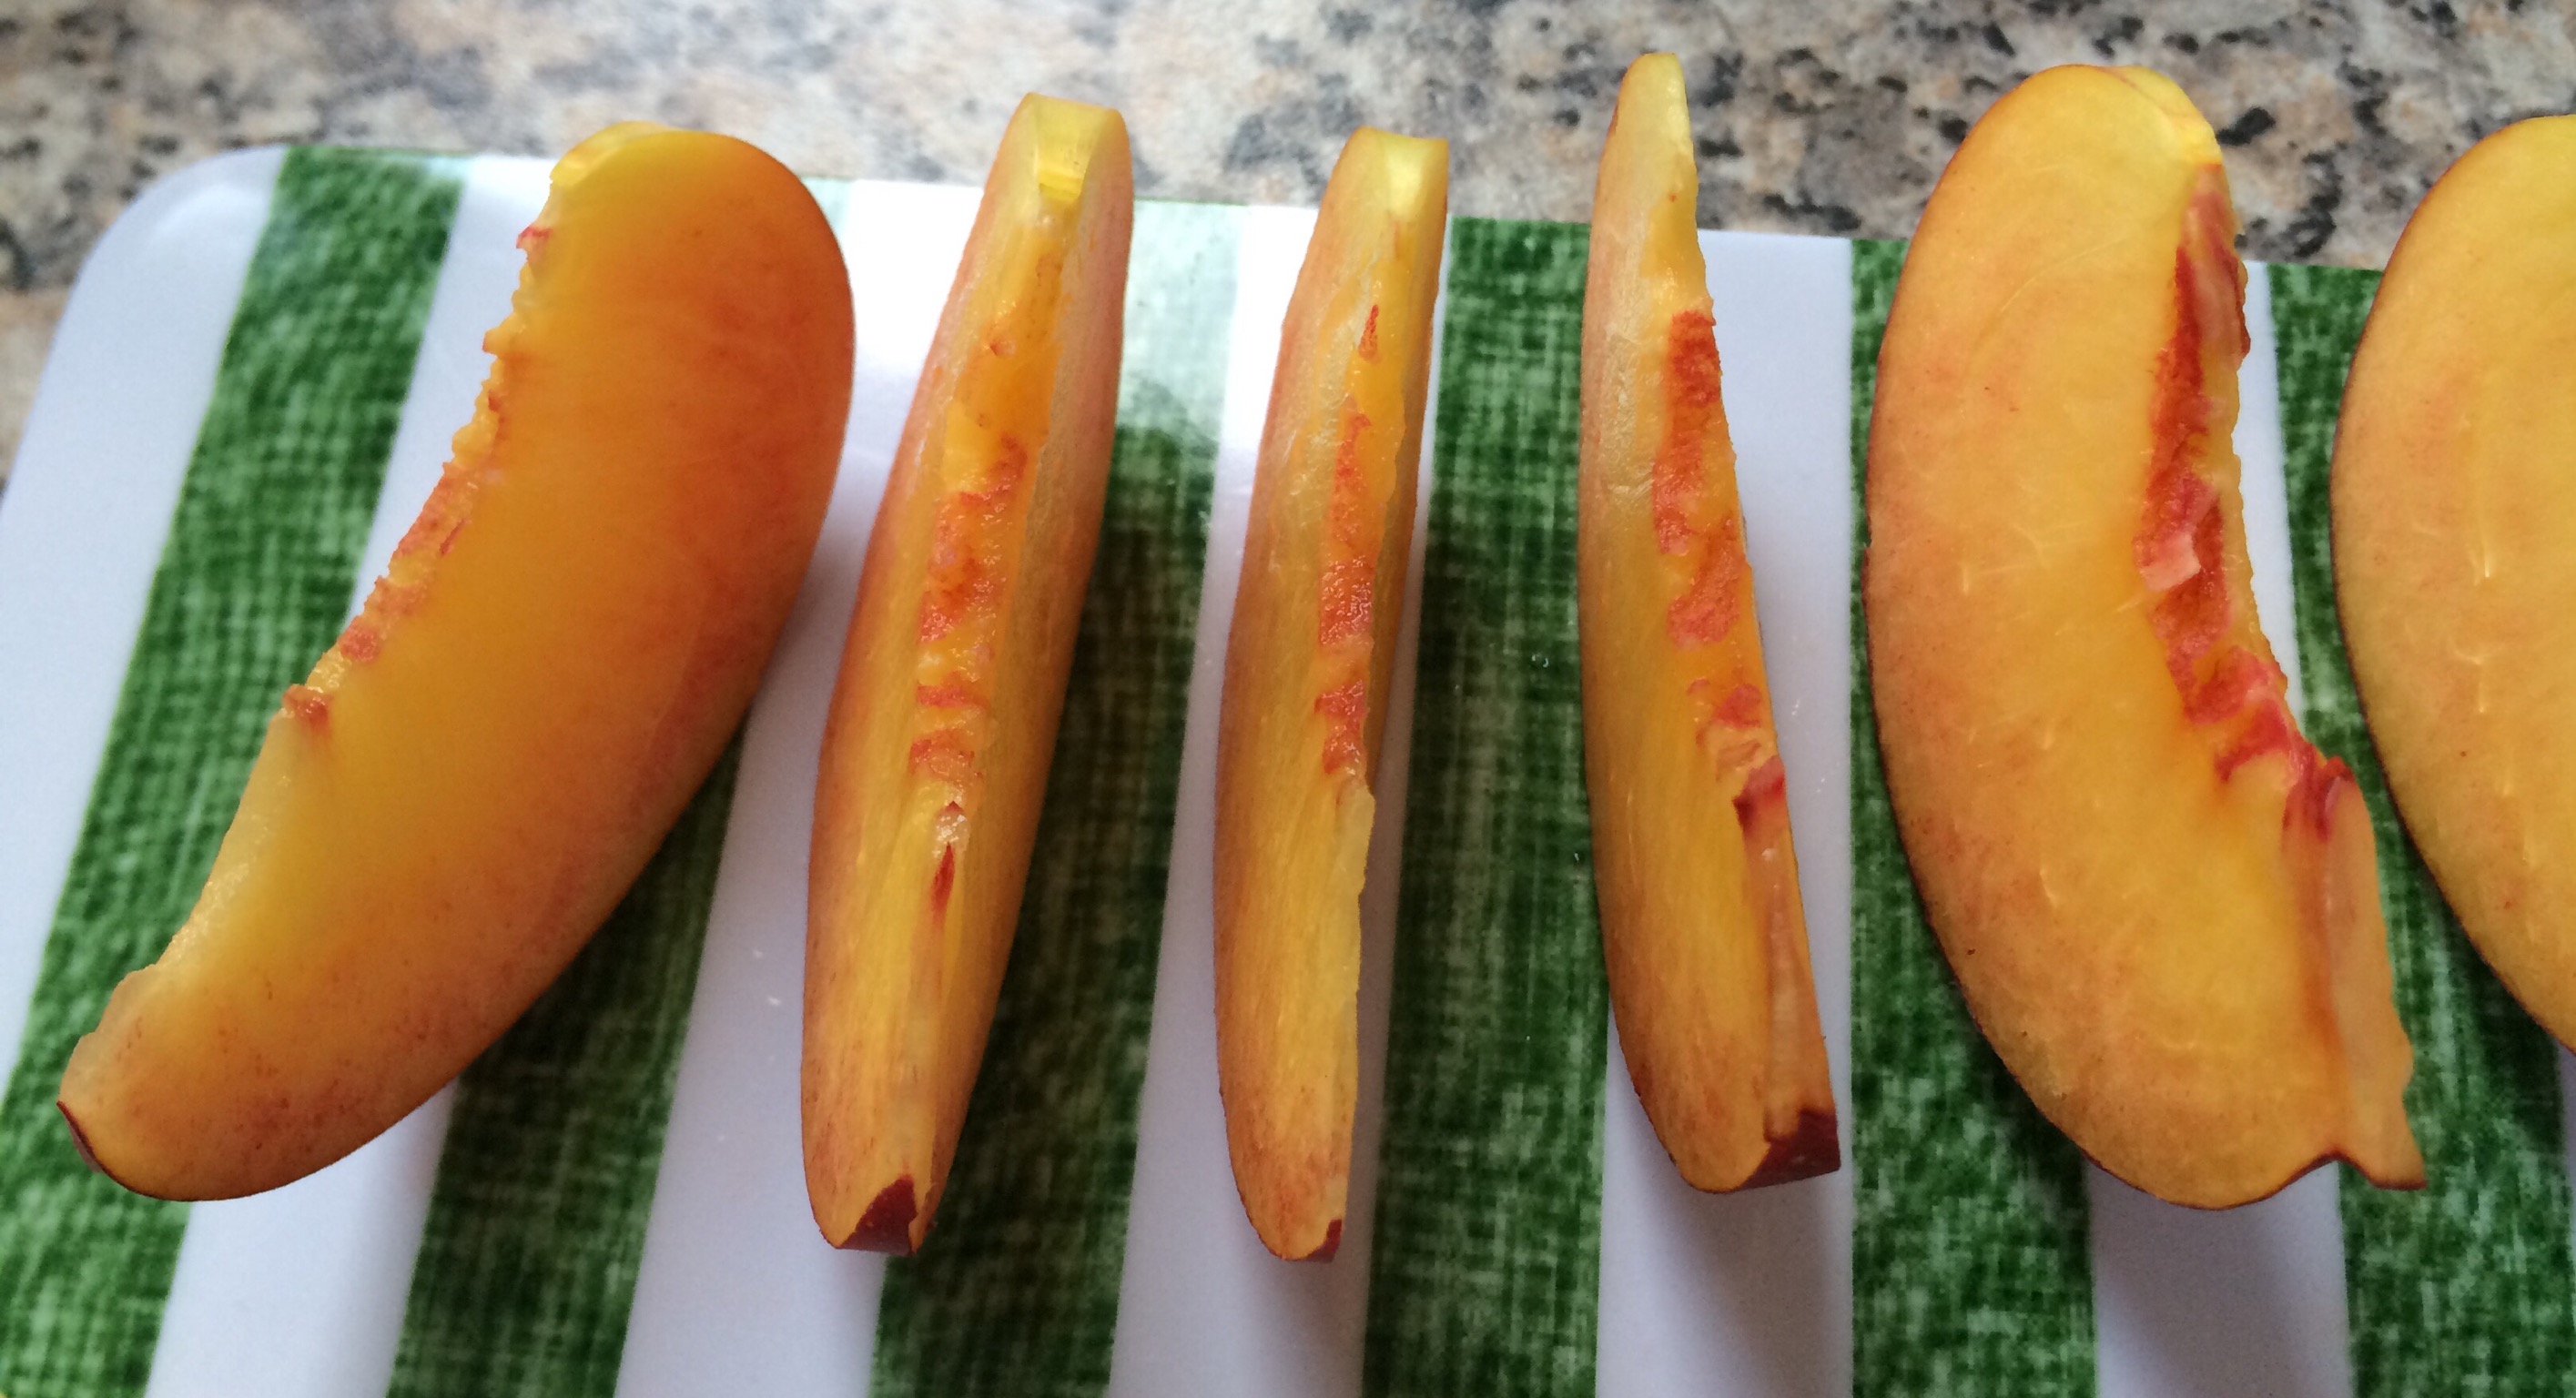
If you are planning to mash/puree/cook the fruit anyway, you can of course just hack away...
————-
1 Peaches, like plums, are classified as freestone or clingstone (sometimes a third type, semi-freestone is mentioned), depending on whether the stone separates easily from the flesh or not. Most, but not all cultivars in stores are freestone peaches, but clingstones are sometimes described as more flavourful: They are often sweeter, less juicy, so have a more “concentrated” flavour.
Note that even for freestone peaches, the stone will separate best with ripe fruit. Underripe fruit will also cling.


